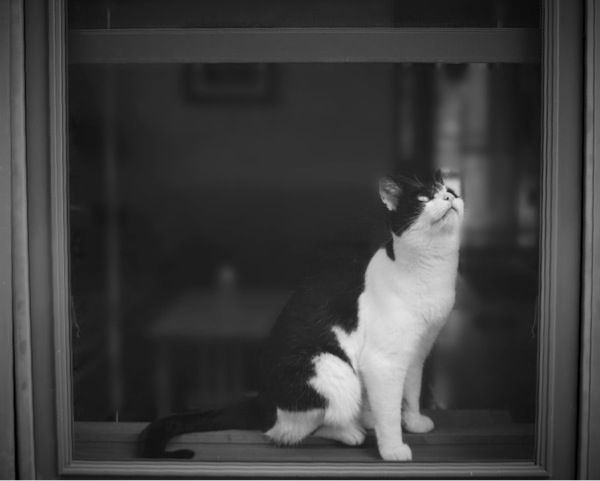
Unlocking Your Creative Potential: The Importance of Learning New Techniques in Photography**
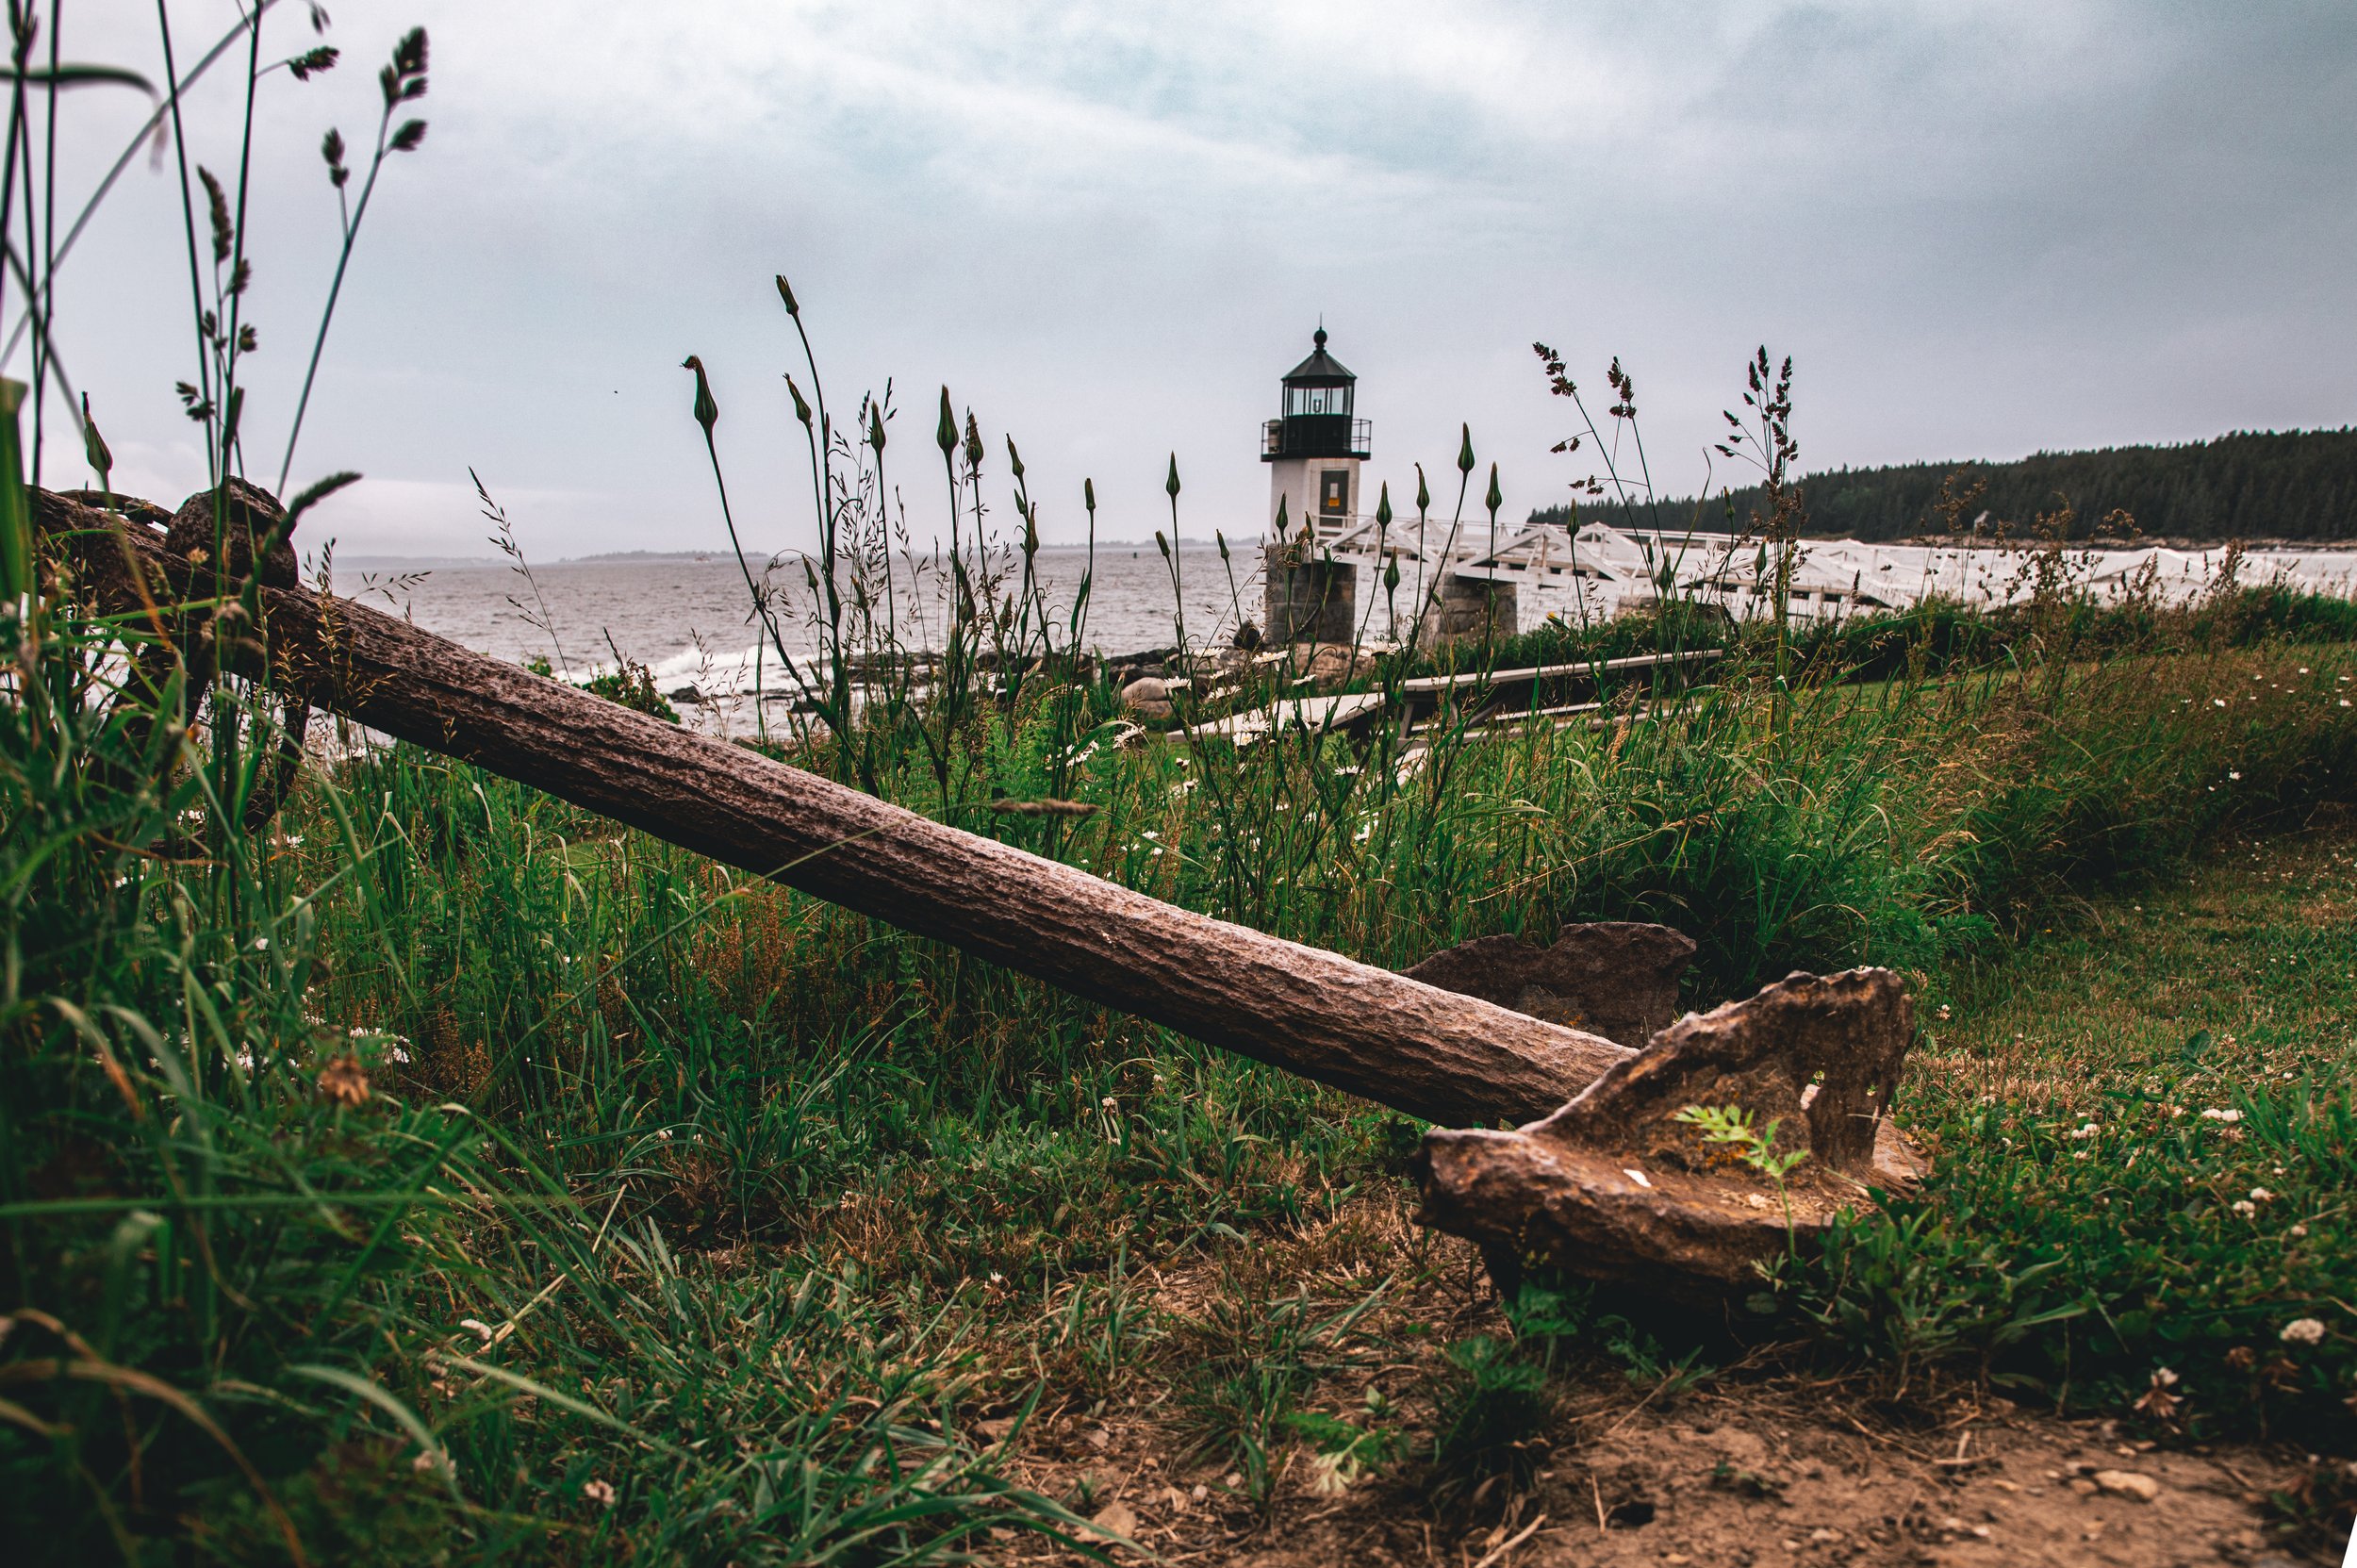
Photography is more than just capturing moments; it's a means of creative expression that evolves with each new technique and skill acquired. Whether you're a seasoned professional or an amateur enthusiast, the journey of self-improvement and creative growth in photography never truly ends. In this article, we'll delve into the compelling reasons why continuously learning new techniques is pivotal in developing your creative expression.*
Expanding Your Visual Vocabulary
Just as a writer needs a broad vocabulary to articulate thoughts effectively, a photographer needs a diverse set of techniques to communicate emotions, stories, and perspectives through their images. Learning new techniques introduces you to fresh visual language, enabling you to convey ideas and emotions more effectively.
Breaking Creative Blocks
We've all encountered creative slumps where inspiration seems elusive. Learning new techniques can serve as a powerful antidote to these blocks. Experimenting with unfamiliar styles, such as macro photography, long exposure, or abstract photography, can rejuvenate your creative spirit and spark new ideas.
Adapting to Different Environments
Photography often demands adaptability, especially when faced with challenging lighting conditions, diverse landscapes, or unexpected subjects. Learning new techniques equips you with the skills to adapt and excel in varying environments, ensuring you never miss a shot due to technical limitations.
Staying Relevant in a Dynamic Field
The photography industry evolves rapidly, with new technologies and trends constantly emerging. Keeping up-to-date with the latest techniques and equipment is essential to stay relevant. Whether it's mastering a new post-processing software or understanding the nuances of drone photography, staying informed ensures you remain competitive in the field.
Pushing Creative Boundaries
Learning new techniques pushes you out of your comfort zone. It encourages you to explore uncharted territories, experiment with different styles, and take risks. These endeavors can lead to groundbreaking creations and personal growth as a photographer.
Building Confidence
Mastering new techniques boosts your confidence as a photographer. Confidence not only enhances your creative expression but also empowers you to take on challenging projects and clients, ultimately advancing your career.
Networking and Collaboration Opportunities
The photography community is vast and diverse. Learning new techniques provides opportunities to connect with fellow photographers, attend workshops, and collaborate on projects. These interactions can broaden your horizons, expose you to different perspectives, and inspire fresh ideas.
Personal Fulfillment
Photography is an intensely personal pursuit for many. Learning and growing as a photographer can be immensely satisfying, allowing you to create a body of work that reflects your unique vision and journey. It's a journey of self-discovery through the lens.
In conclusion, photography is an art form that thrives on constant evolution and innovation. Learning new techniques isn't just about mastering the technical aspects; it's about nurturing your creativity, expanding your horizons, and evolving as an artist. Embrace the process, keep an open mind, and never stop learning. Your creative expression will thank you for it, and your photography will reach new heights you never thought
Mastering Clamshell Lighting: Combining Strobe and Speedlight for Headshots

Headshots
When it comes to headshot photography, lighting is everything. One technique that consistently produces stunning results is clamshell lighting. By using both a strobe and a speedlight, you can create soft, flattering light that highlights your subject's best features. In this blog post, we'll dive into the step-by-step process of setting up clamshell lighting for headshots.
What is Clamshell Lighting?

Clamshell lighting is a popular lighting setup in portrait photography. It involves placing two light sources, one above and one below the subject's face, to create a soft and even illumination. The top light acts as the main light source, while the bottom light fills in shadows, producing a flattering, almost shadow-free look.
What You'll Need
Strobe Light: This will serve as your main light source and provide the primary illumination for your subject.
Speedlight: The speedlight positioned below your subject will act as a fill light to reduce shadows.
Light Stands: To secure your strobe and speedlight in the desired positions.
Softboxes or Umbrellas: These modifiers will help diffuse the light, creating a soft and even glow.
Trigger System: A wireless trigger system or sync cables to synchronize the flash from both light sources.
Step-by-Step Guide to Clamshell Lighting
1. Set Up Your Strobe Light (Main Light)
Position your strobe light on a light stand above and slightly in front of your subject. Angle it downward at about a 45-degree angle. Attach a softbox or umbrella to the strobe to diffuse and soften the light.
2. Place Your Speedlight (Fill Light)
Position your speedlight on a second light stand below your subject, directly facing their face. Attach a softbox or umbrella to the speedlight to match the modifier on your strobe. I used a speed light bracket and a small softbox modifier.
3. Adjust Power Settings
Begin with both your strobe and speedlight at their lowest power settings. You can adjust the power as needed to achieve the desired exposure. Typically, the strobe should be set at a slightly higher power level than the speedlight.
4. Sync the Lights
Use a wireless trigger system or sync cables to ensure that both lights fire simultaneously. This synchronization is crucial to achieving the desired clamshell lighting effect. I used the Godox AD200pro as the main light and the Godox V1 speed light set to slave mode so I only need to trigger the big light.
5. Position Your Subject
Have your subject sit or stand comfortably, facing the camera. Their eyes should be in line with the camera lens.
6. Fine-Tune the Lights
Work closely with your subject to make any necessary adjustments. You may need to fine-tune the position and power of both the strobe and speedlight to achieve even and flattering lighting.
7. Capture the Shot
Once everything is set up correctly, start capturing your headshots. Encourage your subject to try different poses and expressions to get a variety of shots.
8. Post-Processing (Optional)
In post-processing, you can fine-tune the exposure, contrast, and color balance to perfect your headshots. However, with the right clamshell lighting setup, you'll find that minimal post-processing is needed.
Clamshell lighting, achieved by combining a strobe and a speedlight, is a powerful technique for headshot photography. It produces soft, flattering light that minimizes shadows and highlights your subject's best features. By following the steps outlined in this guide and experimenting with different settings, you'll be well on your way to creating stunning headshots that leave a lasting impression.
Capturing Memorable Portraits with Aperture: Making Your Loved Ones Shine
Mastering the use of aperture for capturing portraits of family and friends is an art that can greatly enhance the emotional impact of your photographs.

Creating beautiful portraits of family and friends is a cherished tradition, preserving moments of love, laughter, and togetherness for generations to come. One of the key techniques to make your subjects truly stand out in these photographs is by effectively controlling the aperture. In this article, we'll explore how to use aperture settings to blur the background, also known as achieving a shallow depth of field, and make your subjects the focal point of your portraits.
Understanding Aperture
Aperture, denoted by an 'f-stop' value (e.g., f/1.8, f/4, f/8), controls the size of the opening in the camera lens. The lower the f-stop number, the wider the aperture, allowing more light to enter the camera. Conversely, a higher f-stop number represents a narrower aperture, which lets in less light.
Creating a Shallow Depth of Field
To blur the background and make your subjects pop, you'll want to use a wide aperture, typically in the range of f/1.4 to f/4, depending on your lens capabilities. Here's how to do it:
Select Aperture Priority Mode: If your camera has this mode (often denoted as 'A' or 'Av' on the mode dial), use it. Aperture Priority mode lets you set the desired f-stop, and the camera automatically adjusts the shutter speed for proper exposure.
Position Your Subject: Place your family member or friend in a well-lit area and ensure they are the focus of your shot. Consider using natural light for a soft, flattering effect.
Choose a Wide Aperture: Dial in a low f-stop number (e.g., f/1.8). This will create a shallow depth of field, causing the background to blur while keeping your subject sharp.
Keep a Safe Distance: Make sure there's some distance between your subject and the background. The farther the background elements are from your subject, the more pronounced the background blur will be.
Focus on Your Subject: Use your camera's autofocus to ensure your subject's eyes are sharp and in focus. Some cameras even offer 'Eye Autofocus' for pinpoint precision.
Capture the Moment: Press the shutter button gently to take the shot. If your subject is still, you can use a tripod to minimize camera shake.
Review and Refine: Review the image on your camera's LCD screen to ensure the background is suitably blurred. If needed, adjust the aperture or reposition your subject for better results.
Mastering the use of aperture for capturing portraits of family and friends is an art that can greatly enhance the emotional impact of your photographs. By understanding the relationship between aperture settings and depth of field, you can create stunning images that make your loved ones shine. So, grab your camera, experiment with different aperture settings, and start capturing beautiful, memorable moments that will be cherished for years to come.
Elevating Your Business Image: The Power of On-Site Professional Photography Headshots
In the digital age, first impressions matter more than ever, and businesses are increasingly realizing the importance of projecting a professional image. One highly effective way to achieve this is through on-site professional photography headshots. These portraits not only capture the essence of your team but also communicate a sense of credibility and competence to clients and partners. In this article, we'll explore the numerous advantages of opting for on-site professional photography headshots, highlighting the impact they can have on your business's image and brand.

Stand Out
Discover how on-site professional photography headshots amplify business credibility, branding, and personal connection while saving time and enhancing versatility across marketing platforms.
Credibility and Professionalism: On-site professional photography headshots exude credibility and professionalism. High-quality headshots show that your business is composed of skilled, trustworthy individuals who take their work seriously. This impression can be crucial in building trust with potential clients and partners.
Consistency in Branding: Consistency is key in branding. On-site headshots allow you to maintain a uniform look across your team's portraits, ensuring that your branding remains coherent and recognizable. This consistency reinforces your company's identity and values.
Personal Connection: People connect with people. On-site headshots capture the human side of your team, making your business more relatable and approachable. This personal touch can help foster stronger client relationships.
Tailored to Your Environment: On-site photography enables headshots to be captured in your business's actual setting. This contextual backdrop not only adds authenticity but also provides insights into your company's culture and work environment.
Time and Convenience: Bringing a professional photographer on-site saves valuable time for your team. Employees can have their headshots taken without the need to travel to a studio, minimizing disruptions to their workday.
Customization: With on-site headshots, you have the opportunity to customize the photography session to align with your brand's visual style and tone. This tailored approach ensures that the final images resonate with your target audience.
Versatility Across Marketing Collateral: On-site headshots have a wide range of applications. They can be used in company websites, social media profiles, email signatures, press releases, and marketing materials. This versatility maximizes the value of each headshot.
Boosting Employee Morale: On-site headshots can be a morale booster for employees. When a company invests in professional photography, employees often feel valued and recognized, contributing to a positive work environment.
Standing Out in the Digital Space: In a sea of digital information, having impactful visuals is essential. On-site professional headshots set your business apart, ensuring that your team's images are memorable in a competitive online landscape.
Enhanced Recruitment Efforts: Professional headshots can enhance your recruitment efforts. Prospective candidates are more likely to be attracted to a company that projects a professional and approachable image right from the start.
On-site professional photography headshots offer a multitude of advantages that contribute to your business's success. From enhancing credibility and branding consistency to fostering personal connections and boosting employee morale, these headshots are a valuable investment in your company's image. In a world where visual impressions matter, on-site headshots provide an effective means of establishing a professional and approachable identity for your business.
Unveiling the Beauty of Landscape Photography: Mastering Aperture for Stunning Shots

Landscape photography has a magical way of capturing the awe-inspiring beauty of nature. From majestic mountains to serene seascapes, each landscape tells a unique story. One of the key elements that can greatly influence the outcome of your landscape shots is aperture. Understanding how to use aperture effectively can unlock a world of creative possibilities and elevate your landscape photography to new heights.
The Role of Aperture in Landscape Photography
Aperture, often referred to as the "f-stop," is a fundamental aspect of photography that determines the size of the opening in your camera's lens. This opening controls the amount of light that enters the camera and reaches the image sensor. In landscape photography, mastering aperture empowers you to manipulate two crucial factors: depth of field and exposure.
Depth of Field: Aperture directly affects the depth of field, which is the area of your image that appears sharp and in focus. A wide aperture (low f-stop number) results in a shallow depth of field, where only a small portion of the scene is in focus. Conversely, a narrow aperture (high f-stop number) creates a greater depth of field, ensuring more of the scene, from foreground to background, is sharp.
Exposure: Aperture also plays a significant role in determining the exposure of your image. A wider aperture allows more light to enter the camera, ideal for low-light conditions or when you want to emphasize a specific subject. A narrower aperture limits the amount of light, which is useful for well-lit situations or when you want to capture intricate details without overexposing the image.
Using Aperture Creatively in Landscape Photography
Creative Focus: Select a wide aperture (low f-stop) to isolate a particular element in the landscape, such as a flower in a field or a rock formation. This creates a beautiful background blur, emphasizing the subject while softening the surroundings.
Maximizing Depth: For sweeping landscapes with layers of detail, opt for a narrow aperture (high f-stop). This technique ensures that both the foreground and the distant horizon remain crisp and sharp.
Golden Hour and Sunbursts: During the golden hour or when the sun is peeking through trees or mountains, you can create captivating sunbursts by using a narrow aperture (high f-stop). The small aperture transforms the light source into a star-like pattern, adding a touch of enchantment to your shots.
Bracketing: Experiment with different apertures while bracketing your shots. This technique involves taking multiple shots of the same scene at various apertures to capture different depths of field. You can later blend these images for a perfectly focused composite.
Foreground Interest: Combine a wide aperture to create background blur with an interesting foreground element. This technique adds a sense of depth and draws the viewer's eye into the image.
Aperture is a powerful tool that enables you to infuse creativity, mood, and impact into your landscape photography. By understanding how to control depth of field and exposure through aperture settings, you can craft images that evoke emotions, tell stories, and capture the magnificence of nature. Whether you're shooting dramatic mountain ranges or serene coastal scenes, mastering aperture empowers you to create stunning landscape photographs that truly resonate.
So, grab your camera, explore the great outdoors, and experiment with aperture settings to unlock a world of artistic possibilities in your landscape photography journey.
Demystifying the Exposure Triangle in Photography: A Beginner's Guide

As you embark on your photography journey, understanding the fundamentals is crucial to capturing stunning images. Among the essential concepts to master is the exposure triangle – a fundamental principle that shapes the way light interacts with your camera. In this beginner's guide, we'll unravel the mysteries of the exposure triangle, helping you take control of your camera settings and elevate your photography skills to new heights.
The Components of the Exposure Triangle
The exposure triangle is composed of three key elements: aperture, shutter speed, and ISO. These components work in harmony to determine the final exposure of your photograph. Let's delve into each of these factors:
Aperture: The Gateway to Depth and Light Aperture refers to the size of the opening in your camera's lens through which light passes. It is measured in f-stops, with lower values (e.g., f/1.8) representing larger openings and higher values (e.g., f/16) indicating smaller openings. A wider aperture (lower f-stop) results in a shallow depth of field, where the subject is sharp while the background is beautifully blurred (bokeh). Conversely, a narrower aperture (higher f-stop) increases the depth of field, bringing more of the scene into focus.
Shutter Speed: Freezing or Blurring Motion Shutter speed dictates how long your camera's sensor is exposed to light. A faster shutter speed (e.g., 1/1000) freezes fast-moving subjects, capturing sharp details. On the other hand, a slower shutter speed (e.g., 1/30) can create motion blur, making moving subjects appear dynamic. Finding the right balance between freezing motion and introducing creative blur is crucial for achieving your desired effect.
ISO: Balancing Light Sensitivity and Noise ISO measures the sensitivity of your camera's sensor to light. A low ISO (e.g., ISO 100) is ideal for well-lit environments, producing images with minimal noise. As you increase the ISO (e.g., ISO 800 or higher), your camera becomes more sensitive to light, making it suitable for low-light situations. However, higher ISO values may introduce digital noise, affecting image quality. Striking the right balance between light sensitivity and noise reduction is essential.
Mastering the Triangle: Finding the Perfect Exposure
Achieving a well-exposed photograph involves a delicate balance of these three components. A change in one element necessitates adjustments to the others to maintain proper exposure. For example:
A wider aperture (lower f-stop) requires a faster shutter speed or lower ISO to prevent overexposure.
A narrower aperture (higher f-stop) necessitates a slower shutter speed or higher ISO to avoid underexposure.
Experimentation and Practice: Your Path to Mastery
The exposure triangle may seem complex at first, but practice makes perfect. Experiment with different settings and observe their effects on your images. Use your camera's manual mode to take full control of each component, gradually developing an intuition for how they interact.
The exposure triangle forms the foundation of photography, influencing the creative decisions you make with your camera. By understanding the interplay between aperture, shutter speed, and ISO, you gain the power to capture images that convey your vision. Remember, photography is an art that blends technical knowledge with creativity. Embrace the exposure triangle as your ally, and let your unique perspective shine through every photograph you capture.
Embrace Entry-Level Photography: Using What You Have, Regardless of Others' Opinions

The image above has been published in two nationally recognized magazines and has won three awards. It was taken on a Nikon D5300 with the 55-200mm kit lens.
In the world of photography, there has been a prevailing misconception that exceptional images can only be captured with expensive, high-end equipment. However, the truth is quite the opposite. Entry-level photography equipment has come a long way, bridging the gap between budget-conscious enthusiasts and professional photographers. In this article, we will explore the virtues of using entry-level gear and encourage all aspiring photographers to embrace their current equipment, regardless of what others may think.
The Rise of Entry-Level Photography Gear
In recent years, the photography industry has witnessed a revolution in the quality and affordability of entry-level cameras, lenses, and accessories. Manufacturers have recognized the growing demand for accessible equipment and have responded with a range of affordable options. Entry-level DSLRs, mirrorless cameras, and compact point-and-shoots now offer advanced features, superior image quality, and versatile shooting capabilities, all at a fraction of the cost of professional-grade gear.
Breaking the Stigma
Despite the technological advancements in entry-level gear, some photographers still harbor doubts about its capabilities. They fear being judged or dismissed by others for not owning high-end equipment. However, it is essential to remember that the true essence of photography lies not in the gear but in the art of storytelling through images. The value of a photograph is derived from the emotion it conveys, the story it tells, and the creativity behind it—not the price tag of the equipment used.
Unlocking Creativity with Constraints
Using entry-level equipment can be a blessing in disguise. Constraints can be powerful catalysts for creativity, pushing photographers to think outside the box and experiment with unique approaches to capture compelling shots. Limited resources can force photographers to focus on composition, lighting, and storytelling, leading to more thoughtful and meaningful images.
Learning the Fundamentals
Another advantage of starting with entry-level gear is that it encourages photographers to learn the fundamentals of photography. By mastering the basics of exposure, composition, and lighting, one can build a strong foundation that will remain invaluable regardless of future equipment upgrades. Understanding the essence of photography allows for better control over the creative process and the ability to adapt to different shooting scenarios.
Building Confidence and Resilience
Using what you have, despite external opinions, fosters self-confidence and resilience. It reinforces the belief that one's skills and vision are the essential components of photography, not the gear. Over time, as photographers become more confident in their abilities, they will find their unique style and artistic voice, setting them apart from the crowd.
Community Support and Inspiration
In the digital age, social media platforms and photography communities have become thriving spaces where enthusiasts can share their work and connect with like-minded individuals. Embracing entry-level gear and posting images taken with it can inspire and encourage others who are just starting their photography journey. The sense of community support can provide valuable feedback, motivation, and a sense of belonging.
Entry-level photography equipment offers more than just affordability; it opens doors to creativity, learning, and self-discovery. The journey of a photographer is a continuous evolution, and the gear you start with should never limit your potential. Remember that photography is a form of self-expression, and using what you have with confidence and passion will lead to the most compelling images. So, embrace your entry-level gear, ignore any doubters, and let your vision shine through the lens. Happy shooting!
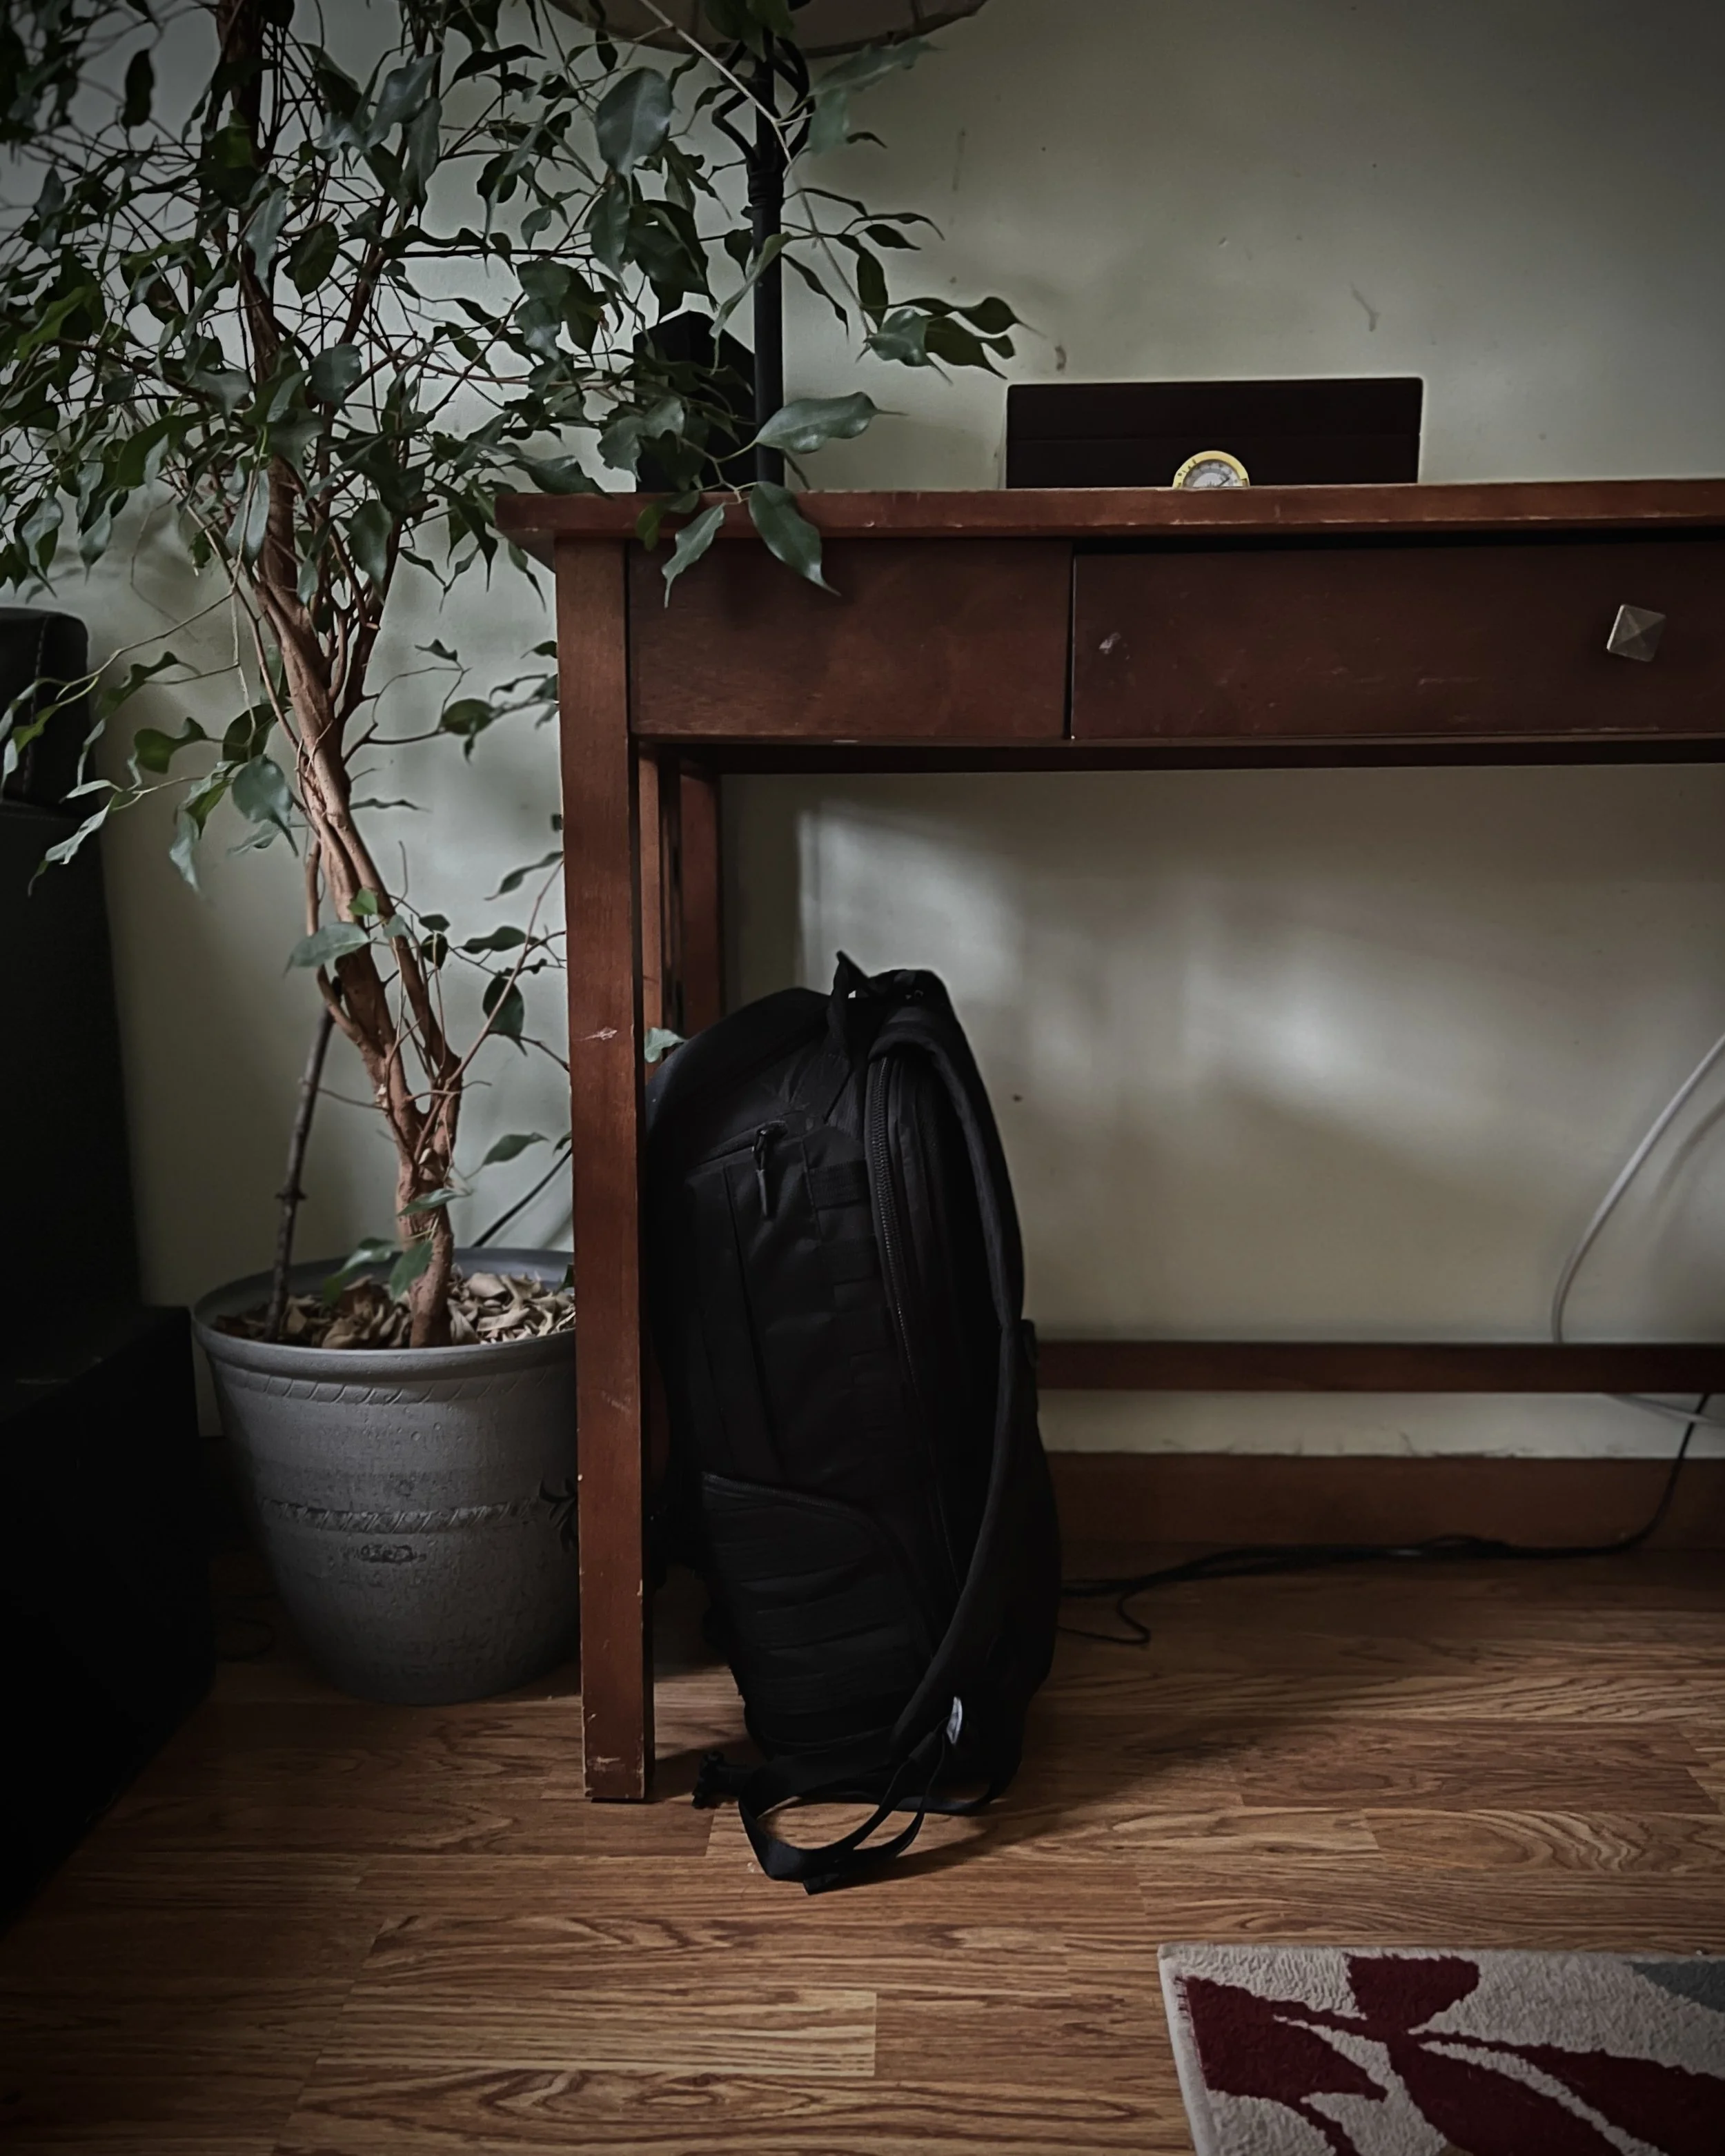
Creativity Lost
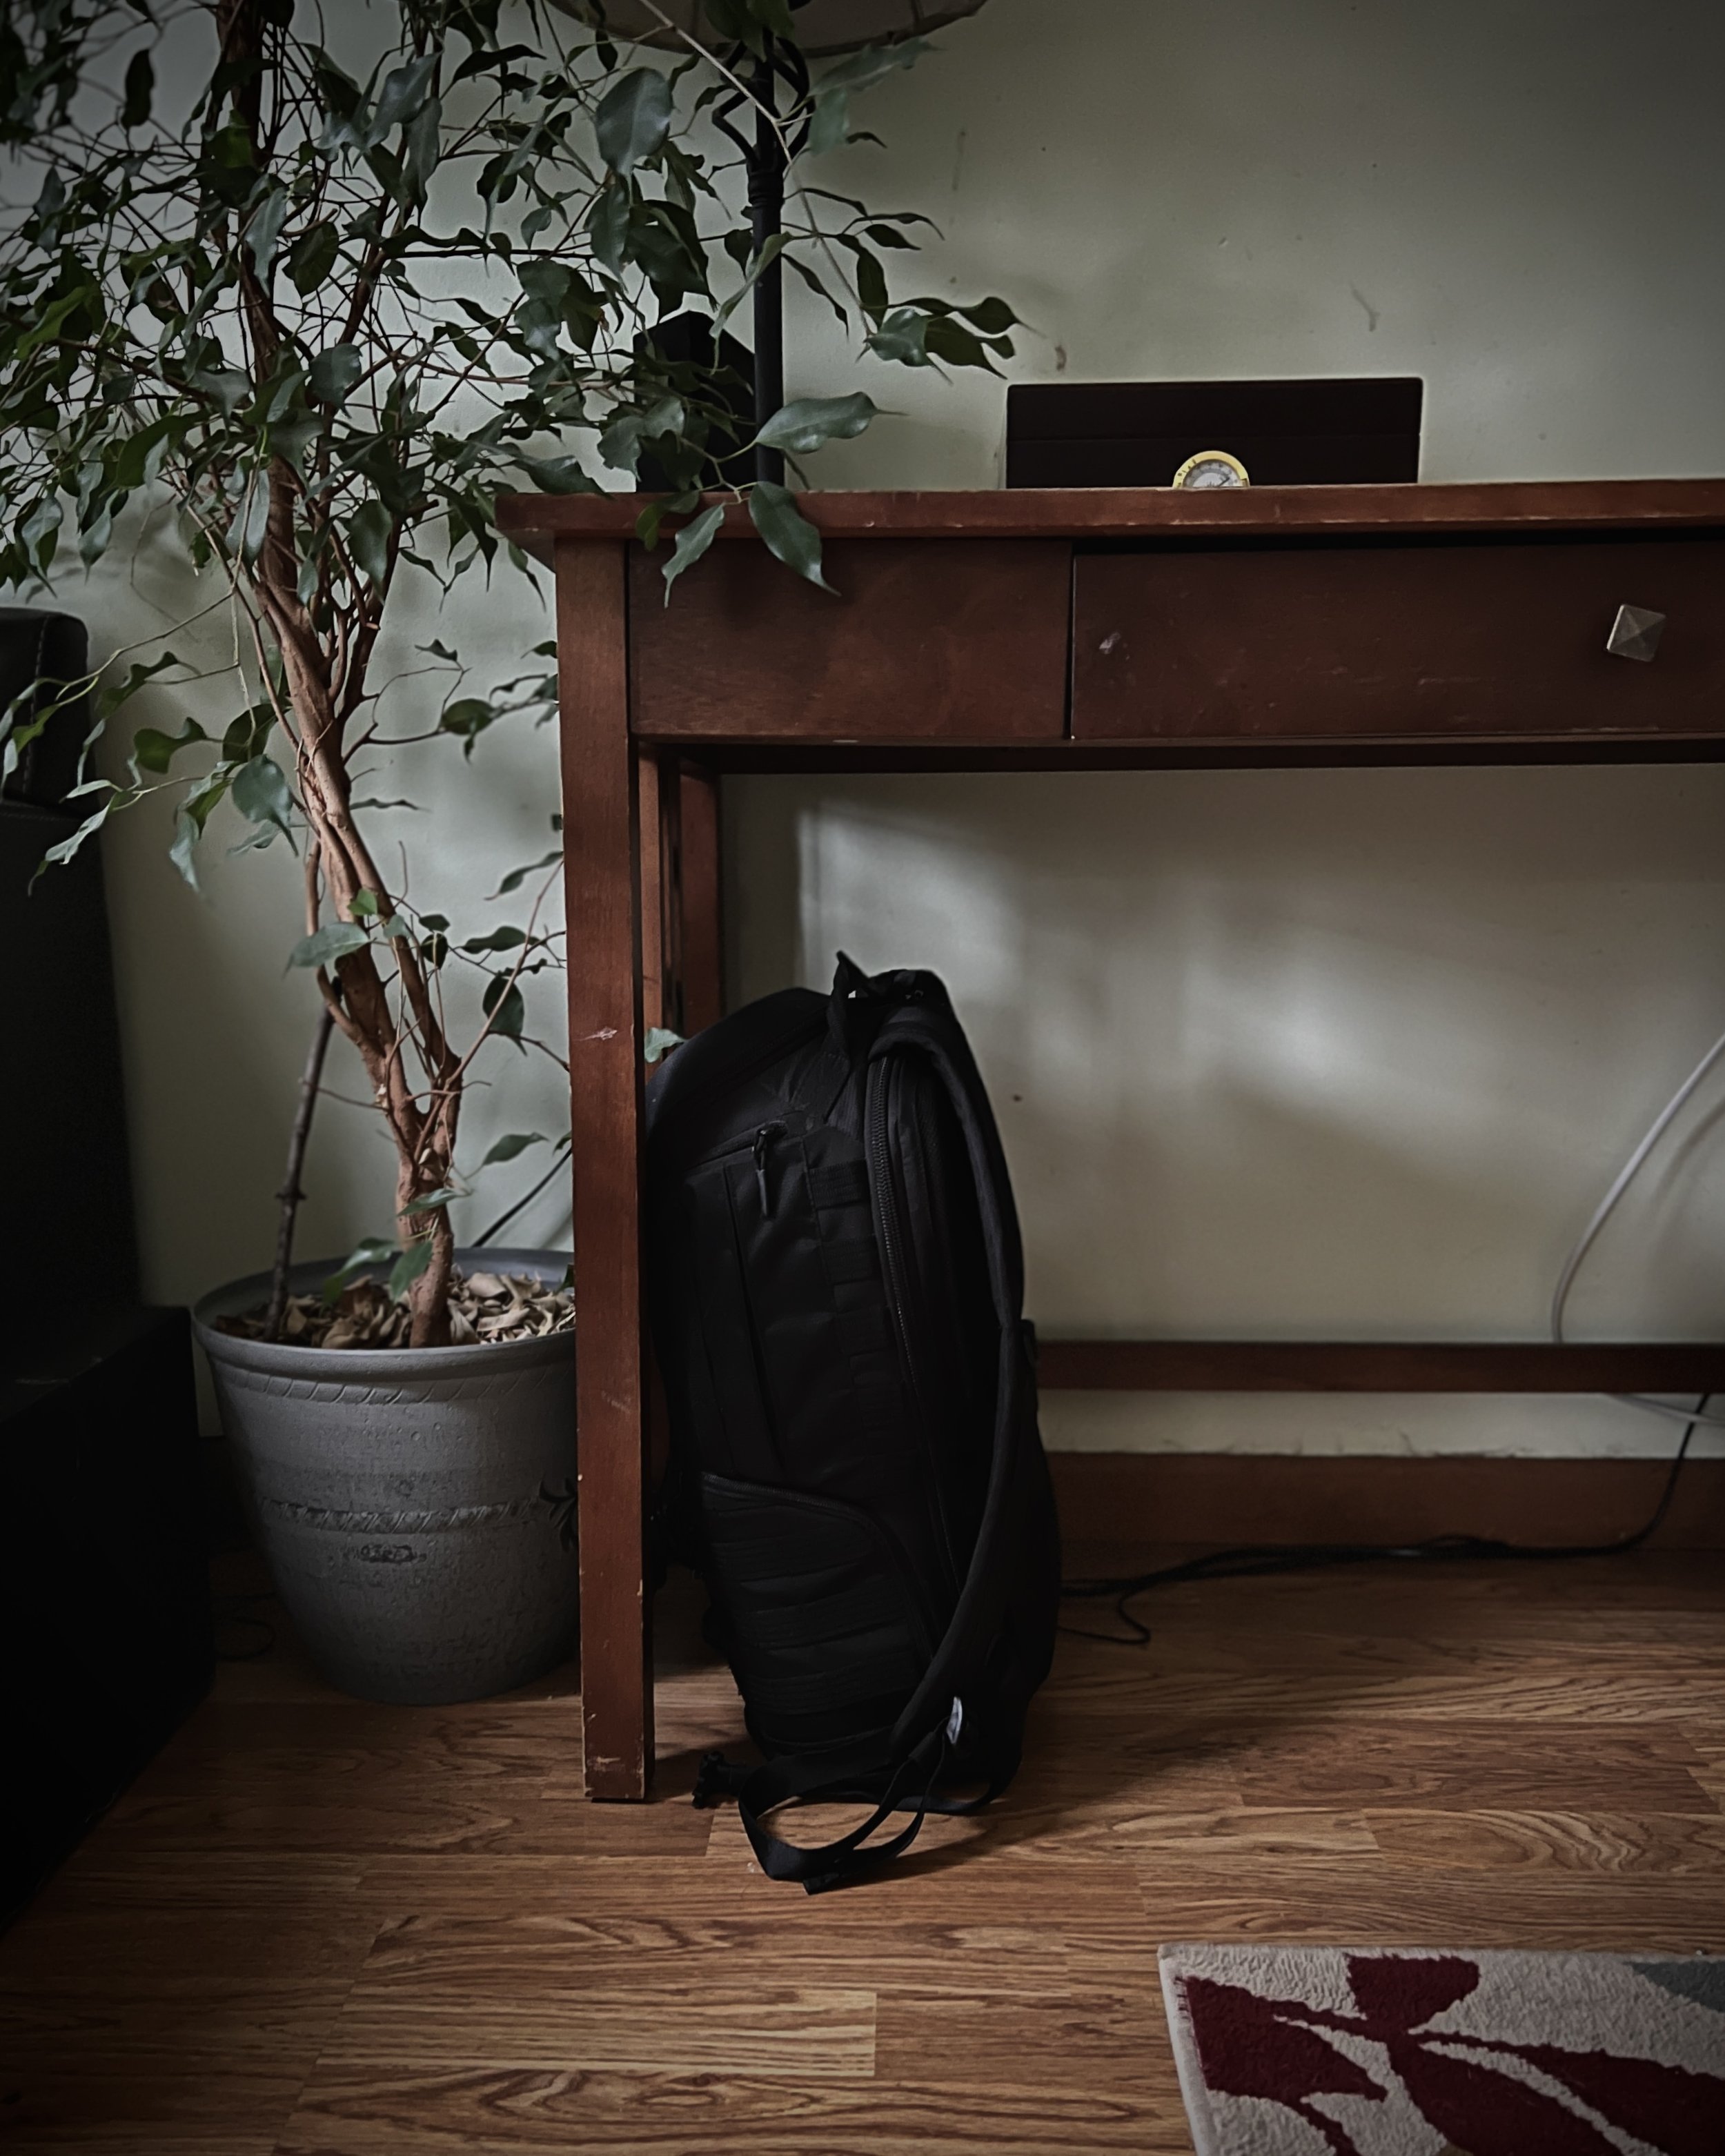
This photo of my camera bag represents everything I am feeling! 2021 was one of my best years creatively. I was published in a few magazines, I had sold some prints, I was creating new work and shooting videos as if my life depended on it. I felt alive and full of energy. I was excited for 2022.
Over the winter, I had purchased some new lenses, a new slider, some lights, and some new filters. I was getting ready for what I believed would be an unforgettable year. Then I got the call. My father called and said they were taking my mom to the hospital because she couldn’t walk. Her knee had swollen and was she was in a lot of pain. There was a covid outbreak in our area so we had to wait in the car and talk to nurse and doctors on the phone. I mentioned to one nurse that my mom had had a horrible cough for the past few months and could they check that out while they were looking at her. Mom hated doctors and especially hospitals and I knew she wouldn’t tell them. They checked my mom in and began the test, x-rays, and CT Scans.
The next day my father and I were allowed to see her, one at a time. The first thing mom said to me was, “ I am ready to go home!” While I was there, they took my mom out for some more scans. when she left the room a nurse pulled me aside and asked if mom had dementia. I said I had seen some signs of forgetfulness but nothing that jumped out at me. I few hours later we got the test results back and I spoke to a nurse.
Mom had cancer! It turns out she had lung cancer (she smoked my whole life) and the cancer had spread and they felt that it was in her brain and that was causing her to act the way she was. With that news mom checked herself out and came home. In the beginning I took care of mom at night and my sisters took care of her during the day. Our family doctor made a house call and said she only had a 3-6 moths left. I am not going to go into all the details but the next few weeks were hard on all of us. My wife and I had planned a trip to Maine (we go every year together. I go several times on my own). Although we were only a month in, we weren’t sure mom would make it long enough for me to go and get back. In the end, as a family, my sisters, my father, and my mom all felt we should go. My mental health was not good at this point and Maine is my peaceful place. I loaded the truck up with all my gear and had visions of what I would create while I was there.
I didn’t create anything! I found it hard to create because I was worried about my family. There were a lot of dynamics working and my brain was fried! We had a nice time; visiting with old friends, eating great food, and just being there. I did take a couple of side trips to make some photos but my heart wasn’t there and couldn’t create the images I wanted. We came home and I put my camera bag under my writing desk. There it sits to this day. My mom passed 9 weeks after we got the diagnosis. I had time to say goodbye and I was there to hold her hand right after she passed. The next week was hard. I got covid from someone giving their condolences and I was unable to attend her services. We had to postponed the reception for a month after. There have been a lot of emotions that I have been dealing with that I won’t go into here but I realized this week I have lost my creativity.
I create not only for my personal work. I also have to be creative in my job. I run an adoption and training division for a company and I create all the training and marketing for my department. I pride myself on creating dynamic, energetic, live, elearniing, and video training for a YouTube world. I also create all the marketing materials and content. I shoot and edit the commercials, create the blog posts, and all social media posts. However, now I am fighting every day to create anything. I am stuck! Lost!
So I reached out to the creative community on twitter and asked what they do. I tagged some very big names that I find very creative but also seemly warm and who I thought may be willing to help. I didn’t get responses from everyone but the ones that did, had some great ideas that I am going to try.
Becky and Chris, https://www.youtube.com/c/BeckiandChris suggested creating something just for me. I have a list of ideas that I haven’t done yet and one small project that I will try this weekend. PhotoJoseph, https://www.youtube.com/c/photojoseph recommended I take a trip. Get away. Take minimal gear and see what I can create! This hit me hard and it would tie in very well with Becky and Chris’s suggestion.
Jesse Driftwood, https://www.youtube.com/c/JesseDriftwood suggested look for the spontaneity of the moment or just start working on something and see where it takes you. Just get going and the creative skills will kick in.
Finally Chase Jarvis, https://www.youtube.com/c/ChaseJarvis reminded me of his book, Creative Calling. I have read this several times when I am stuck and started rereading again today. These people, along with a few others that responded made me feel not so alone anymore. I felt like other creatives were there to help. This is not something I have felt very much in the past and it meant the world to me.
I have lost my creativity! I am uninspired! However, I know this to will pass. For now my camera bag is under my desk still. However, I will try the things that have been suggested and see where it takes me. I have a lot to work on but I know my mind is a powerful tool and I have the ability to choose my own path forward. I cannot thank those of you enough, that responded to my post. You have no idea what that can do for someone when you respond. I hope that I can be there for others like they have been there for me.
Learning from the Masters
I learn from the masters! I study photographers that are well known in their craft.
I learn from the masters! I study photographers that are well known in their craft. Photographers like Joe McNally, Peter Hurley, and Douglas Kirkland from today's masters. Ansel Adams, Yousuf Karsh, and Irving Penn from those that have passed.
I also learn from other photographers. Photographers that present amazing photographs and art work. I am looking at photographers that have clean work and seem to know what they are doing. They may not be published, written any books, or have a video series on Kelbyone but who are on sites like 500px where I can admire their work and get inspired from.
I have been studying photography since the 70s but I still do not know everything. Digital has changed the game for me and I feel as though I am starting over. I look to find new ways to learn without having to go back to school and do it ALL over again. I find the community of photography is supportive and encouraging but I also find there are a lot of photographers that may not be doing things the way I would do them so I have to be careful of who I choose to learn from and follow.
My goal this year is to continue to find amazing photographers to get inspiration from as well as continue to study the masters. As I learn or find new people I will post them here and I encourage you to do the same. I want to learn as much as I can but it can be hard to find something or someone new in the ocean of online digital photography. I hope I can help each of you and in turn continue to learn and find new things from each of you.
Here is a shortened list of where I am learning online:
Digital Photography School
Kelbyone
Lynda
Joe Mcnally
Peter Hurley
Here is a short list of the photographers I am following on 500px and Twitter:
Following the Rules
The best part of the rules of photography is the idea that we could break them at any time. However first you need to understand what the rules of photography are. Too often I see photos of great grand views but the subject is directly in the center of the photo, so I don't really get the scene that they're trying to show me. Following the rule of thirds gives us the opportunity to help our audience feel what we feel. There is nothing wrong with centering your subject if that is what you feel as the photographer best shows your subject. If you always center your subject, it tells me you pointed the camera in the vicinity of the subject and pushed the button. The difference can be "did you take the photo or did you MAKE the photo"?
Here is a picture looking down into a valley with big puffy clouds and rich green fields. Notice the valley is in the bottom third of the photograph and the top two thirds is filled with sky. I was trying to give my audience a sense of expansion. I feeling of looking on forever.
The next time you are taking a photo, try moving the camera or the subject around to give a sense of where you are, what you are feeling, or simply a different perspective. Using the rules, Find your look for the photograph...


I am in Love
I am in love...with my 50mm f/1.8
I am in love...with my 50mm f/1.8 lens. I have lenses for any kind of photography I want. I have lenses for portraits, lenses for landscapes, and lenses for macro/micro photography but had forgotten how much I appreciate my 50mm lenses. 25 years ago when I was in school we were told to always have a camera with a 50mm lens on it. It was a great lens for all kinds of photography and especially for street. When I looked through the view finder the world looked similar to what my eye saw and that made it easy to understand composition. If i needed to zoom or out I had my feet. If I wanted my subject to stand out I would open the aperture all the way and the world around would soften and only show my subject. If I wanted the world to be in focus I simply close down the aperture and everyone and everything was in focus.
As I have gotten older and have cameras and lenses for every kind of photography imaginable I forgot about my 50mm lenses. A few weeks ago I decided to get back to the kid photographer in me and I committed to having the 50mm on a camera almost all the time in the new year. Since then I have shot countless images with a 50mm. I had forgotten how great that lens can be. I especially like it for around the house and on the street. It is a small non-threatening lens and I can really get up close to people with it and not make them too uncomfortable.
Don't get me wrong I still have a wide angle lens when I shoot architecture, and an 85 or 105mm when I am shooting portraits, and I love my Macro lenses for food photography but if you stopped me on the street and asked what I had with me, it will probably be a 50mm f/1.8 lens. If you have been a photographer for a long time and are trying to get inspiration for the new year or rekindle your love of photography, try putting a 50mm on your camera and head out into the world and see what happens. if you are new to photography, I always say you should have a 50mm or a 35mm with a wide aperture. Pick one up and see how your world looks through one of these. I think you will be surprised.
I would love to see your 50mm photos. Please feel free to post them here or on my flickr page at DavePopephoto.
Camera by the Back Door
Yesterday I was taking the dog out back when I spotted a Cooper's Hawk in the back yard by the herb garden. The ground was covered with freshly fallen snow and he was just sitting there. Fortunately I had a Nikon Coolpix L820 sitting by the back door I had just come out of. What I love about this camera in the 30x optical zoom. I took the dog back in and grabbed my camera. Because it has such a long focal length, I could stay back from the hawk and still get a decent picture. I realize this could've been better possible on my DSLR but THAT was not by the back door. From now on I will always have some sort of camera by my back door, ready to capture any moment.

Christmas is Coming
I have done a little HDR but haven't spent a lot of time really thinking about it, so I decided to enter a contest this year and focus on making a decent HDR photo. I know that I am not Trey Ratcliff but I enjoy his work and I wanted to see what I would end up with. I tried this image 2 ways. The first one is with a 2 EV difference over 3 exposures and the second one is 1 EV over 3 exposures. Ironically I used to do this with film back in the 80s and 90s but they never looked this cool.
Which do you like better and why? Also I want to see your HDR images.
HDR EV -2, 0, +2
HDR EV -1, 0, +1
Thanksgiving Weekend...SNOW!
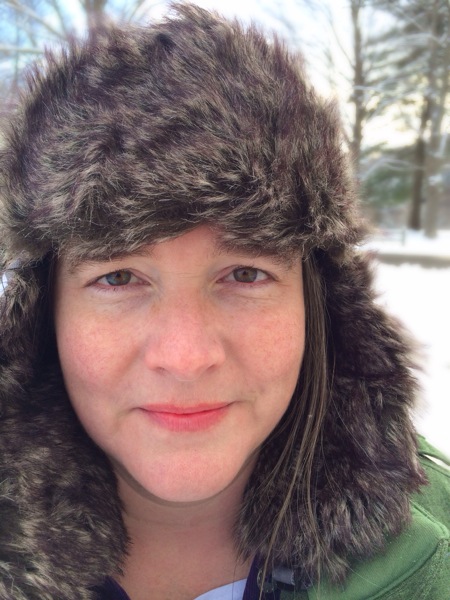
This weekend I made a commitment...to my iPhone. I decided that the only camera I would bring with me is my iPhone 5s and to use it as often as I can. I have been taking landscapes, food, and even portraits. Here are two of the images I took using the iPhone. I used iPhoto for iOS to stay true. The first image is a barn. I increased the contrast and saturation and cropped it to an 8x10.
The second image is of my wife, Alice. I went close up and added some saturation to her eyes and lips and then softened the background a little more.
So far I am enjoying the iPhone. It is always with me and very convenient. I do have to spend more time on post editing but I like the results.

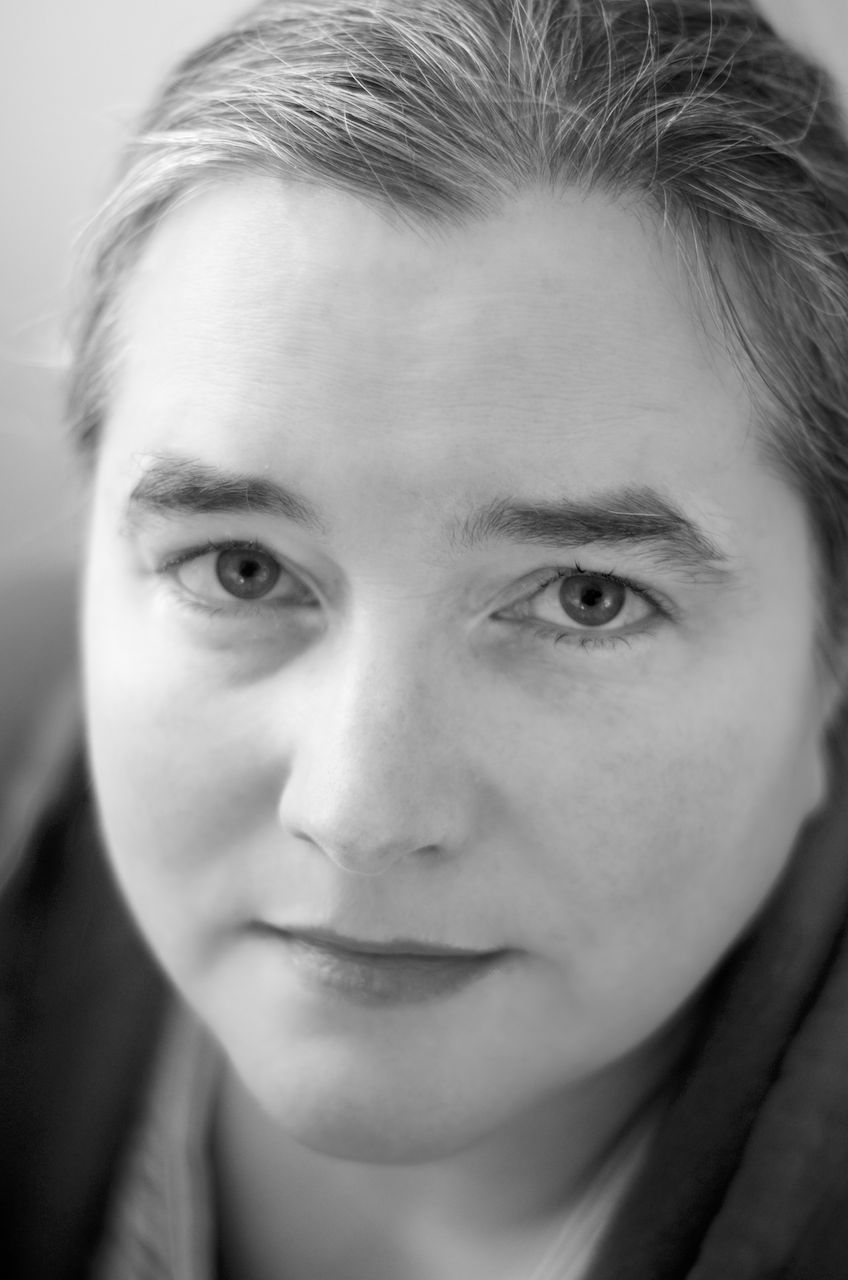
Using recovery time from surgery
I have been using the time I have for recovery from my surgery to learn more about photography and video editing. IMA also pushing myself by using only one lens a day and sometime only black and white.
This image was shot with a Nikon 28mm at f2.8 in monochrome.